Arduino Web Editor Guide
The following article covers the whole Arduino Web Editor.
Your learn the advantages and disadvantages of the Arduino Web Editor before we see how to sign up for the Editor.
After we get an overview of the whole Web Editor I show you how to flash a sketch from the Arduino Web Editor to your Arduino board and how you can import sketches and projects from your local computer to the Web platform.
Table of Contents
What is the Arduino Web Editor?
The Arduino Web Editor is the whole Arduino Desktop IDE online in a web browser. With the help of the Arduino Web Editor you are able to create and document your Arduino projects, create sketches, flash sketches onto your Arduino board and share your work with your friends.
Advantages / Disadvantages using the Arduino Web Editor in comparison to the Arduino IDE
Advantages
- Save your sketches in the Arduino cloud to access them anytime and everywhere. Also your sketches are protected against data loss.
- You do not have to update your IDE because the Arduino Web Editor will always run the most up-to-date version of the IDE.
- You can easy share your projects with your friends or colleges.
Disadvantages
- You only can work with Arduino boards in the Arduino Web Editor. Most of the time I use boards based on the ESP8266 like the NodeMCU and I can not flash a sketch to this board. Therefore I do not use the Arduino Web Editor.
- A plotter like in the Arduino Desktop IDE is not available in the Arduino Web Editor
Sign Up and Log In to the Arduino Web Editor
OK now we want use the Arduino Web Editor. The following chapter will be a tutorial how to sign up for the Arduino Web Editor and how to use the IDE.
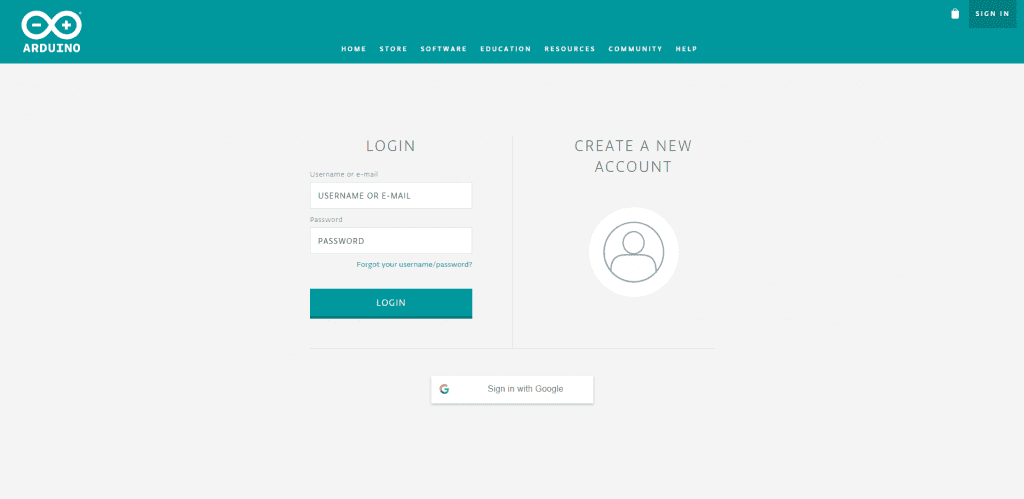
First visit the homepage of the Arduino Web Editor.
If you already have an account you can log in on the left side. If you want to sign up with your google account, use the button below. Also you can create a new account clicking on the right avatar. I use the option to sign in with google. You have to choose a username and confirm the policies.
After the Arduino Web Editor is loaded you can choose if you want to take a tour to view the main features.
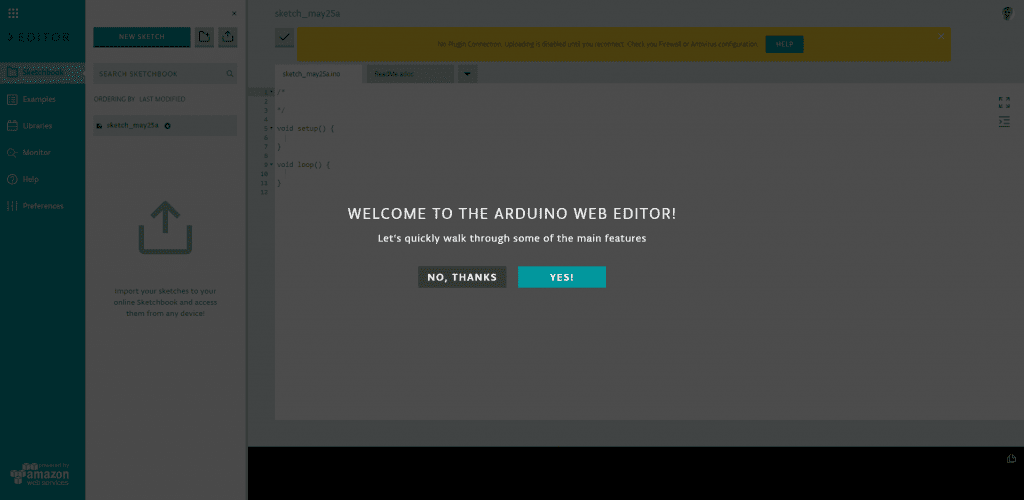
If you click “No, thanks” you will see the overview of the Arduino Web Editor.
Overview of the Arduino Web Editor
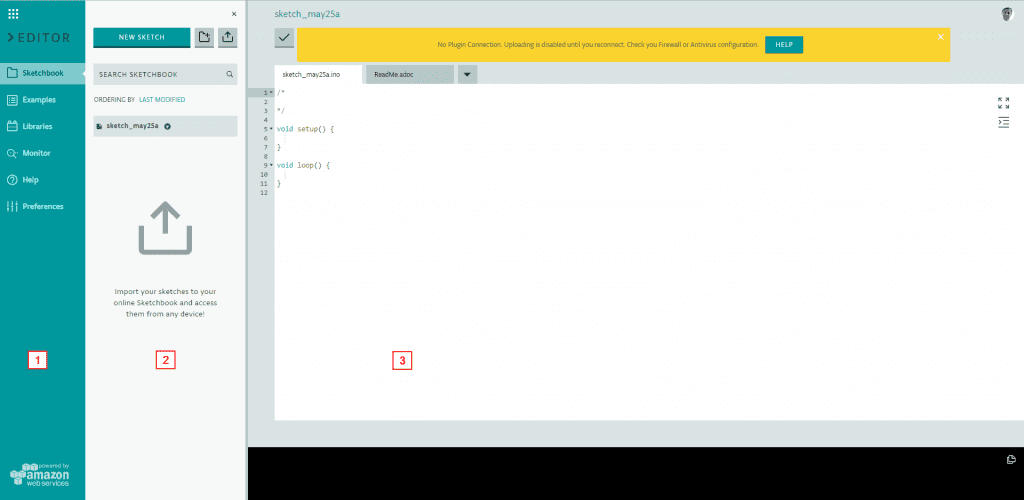
The IDE is divided into 3 main columns. We go into the first column in detail because the first column is the main control area for the Web IDE. The second column is directly dependent on the selection of the first column and acts like a side panel. The third column is the code area where you write your script, verify the script if everything is coded right and finally upload the sketch to your Arduino board.
Sketchbook
The Sketchbook is your default view if you start the Arduino Web Editor. On the second column you have different options to do:
- Create a new sketch
- Create a new folder to organize your sketches and projects
- Import sketches
- Select a sketch to work on it in the third column
- Search for a sketchbook
Examples
In this section you can select example sketches to quickly test a board or to see if you can adapt some code parts to your own sketch. Most of the examples are the same as the Arduino Desktop IDE.
Libraries
Of course you can import different libraries to provide extra functionalities. The process is the same as in the Arduino Desktop IDE. For most and for all standard or most used component you will find the corresponding library in the manual of the component.
Serial Monitor
If no board is connected, the Serial Monitor will be greyed out and unavailable. A plotter like in the Arduino Desktop IDE is not available in the Arduino Web Editor
Help
In the help section you find the current info about the Arduino Desktop IDE like the version and the supported operation systems and browsers. Also you find the supported boards:
• Arduino/Genuino 101
• Arduino/Genuino Mega or Mega 2560
• Arduino/Genuino Micro
• Arduino/Genuino MKR1000
• Arduino/Genuino Uno
• Arduino/Genuino Zero (Native USB Port)
• Arduino/Genuino Zero (Programming Port)
• Adafruit Circuit Playground
• Adafruit Circuit Playground Express
• Analog ADI (Native USB Port)
• Analog ADI (via Atmel-ICE)
• Arduino Due (Native USB Port)
• Arduino Due (Programming Port)
• Arduino Duemilanove
• Arduino Esplora
• Arduino Ethernet
• Arduino Industrial 101
• Arduino Leonardo
• Arduino Leonardo ETH
• Arduino M0
• Arduino M0 Pro (Native USB Port)
• Arduino M0 Pro (Programming Port)
• Arduino Mega ADK
• Arduino Mini
• Arduino MKR FOX 1200
• Arduino MKR GSM 1400
• Arduino MKR NB 1500
• Arduino MKR Vidor 4000
• Arduino MKR WAN 1300
• Arduino MKR WiFi 1010
• Arduino MKRZERO
• Arduino Nano
• Arduino Primo
• Arduino Primo Core
• Arduino Pro or Pro Mini
• Arduino Robot Control
• Arduino Robot Motor
• Arduino Tian
• Arduino Tian (MIPS Console port)
• Arduino Uno WiFi
• Arduino Uno WiFi Rev2
• Arduino Yún
• Arduino Yún Mini
• ARM Linux Generic SBC
• EMoRo 2560
• Industruino D21G
• Intel x86 Boards
• Intel x86_64 Boards / IoT Gateways
• LilyPad Arduino
• LilyPad Arduino USB
• Linino One
• littleBits w6 Arduino Module (Leonardo)
• SmartEverything Dragonfly (Native USB Port)
• SmartEverything Dragonfly (via Atmel-ICE)
• SmartEverything Fox (Native USB Port)
• SmartEverything Fox (via Atmel-ICE)
• SmartEverything Fox3 (Native USB Port)
• SmartEverything Fox3 (via Atmel-ICE)
• SmartEverything Lion (Native USB Port)
• SmartEverything Lion (via Atmel-ICE)
• SmartTutto (Native USB Port)
• SmartTutto (via Atmel-ICE)
• UP² Board
• Windows 10 IoT Core
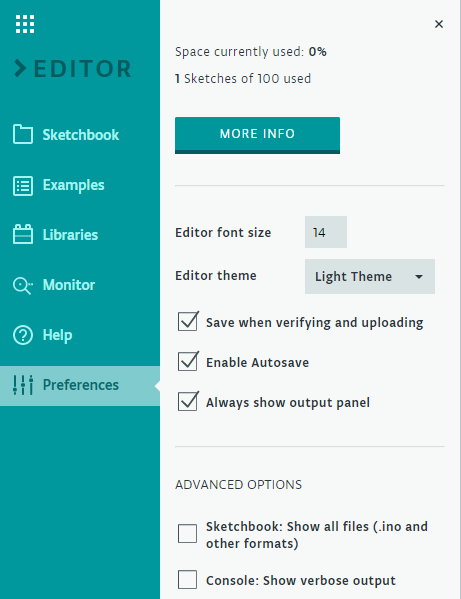
Preferences
In the preferences you see how much space you are currently using. Because the sketches and projects are saved in the Arduino cloud the space is limited to 100 sketches and 100 MB. In my opinion are 100 sketches a good amount.
Also you are able to edit the front size of the editor and the editor theme if you prefer a dark theme over a light theme. Looks a bit nerdy the dark theme right ;)?
There are although several check boxes in the preferences:
- Save when verifying and uploading. Should be enabled that you make sure what code is on your Arduino board.
- Enable Autosave. This option should although be enabled because I really lost time because I programmed till the last minute and then I quickly shut everything down without remembering to save my sketches.
- Always show output panel. In my case I use the output panel a lot and therefore I always let this option checked. If you do not use the output panel, you can disable this option.
Last there are two advanced option which I did not touch and therefore these two options are unchecked.
Upload a sketch to your Arduino board
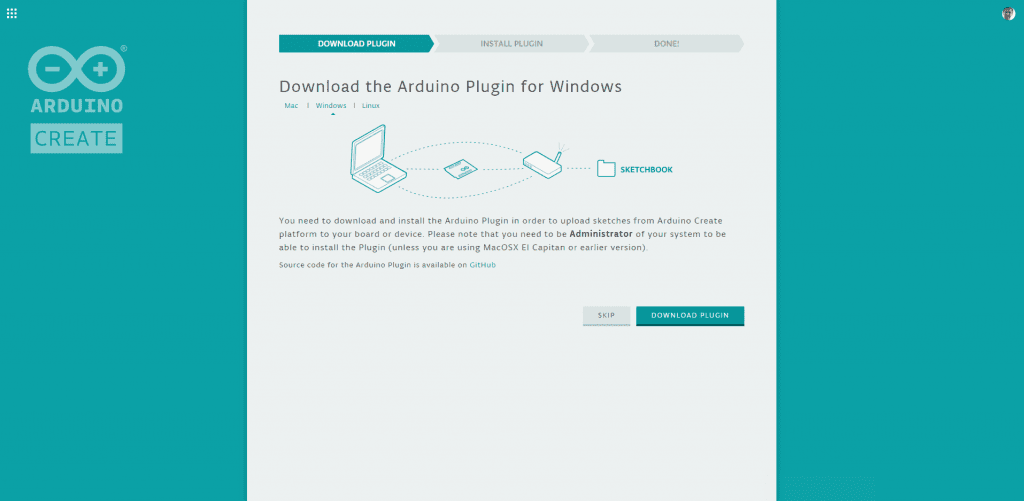
If you want to upload your sketch to one of your Arduino boards you first have to install a plugin so that your firewall is not blocking the traffic. You can download the plugin for Mac, Windows or Linux from this URL.
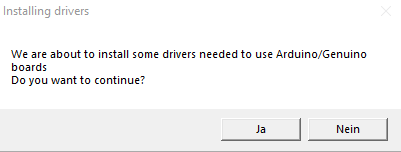
The file you have downloaded should be like ArduinoCreateAgent-1.1-windows-installer-chrome.exe. Double click on the exe file to install the plugin. I suggest to use the chrome browser together with the plugin because this combination runs very stable. After you successfully installed the plugin, your operation system is asking you if you want to install the corresponding drivers: VBoxManage setextradata “Ubuntu” VBoxInternal2/EfiGraphicsResolution X
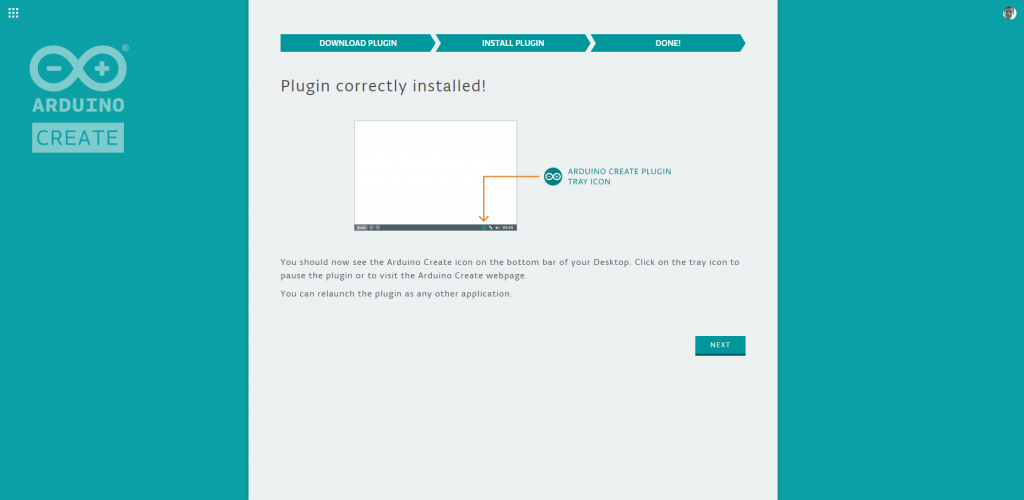
Click Yes to install the drivers. Now you have a new symbol in your taskbar. If you look back into your browser, the Arduino Create platform is searching for the installed plugin.
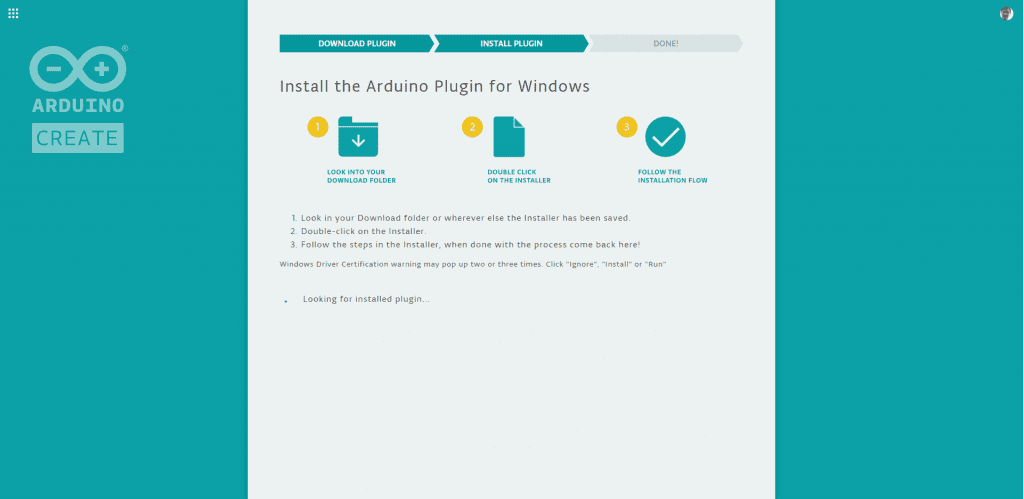
After 1-2 minutes the platform found the plugin. Click Next to return to the Arduino Web Editor. In the Arduino Web Editor select an example sketch to test the connection between the IDE and your local Arduino board.
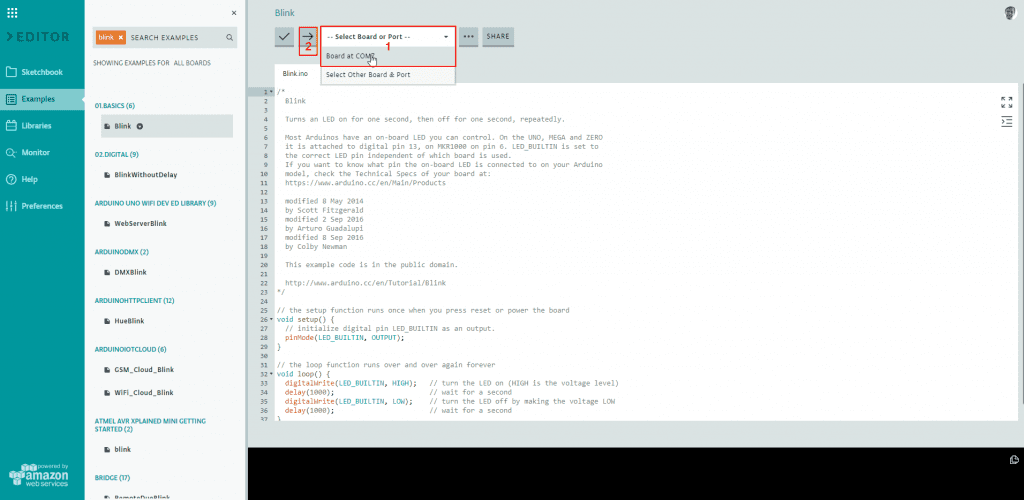
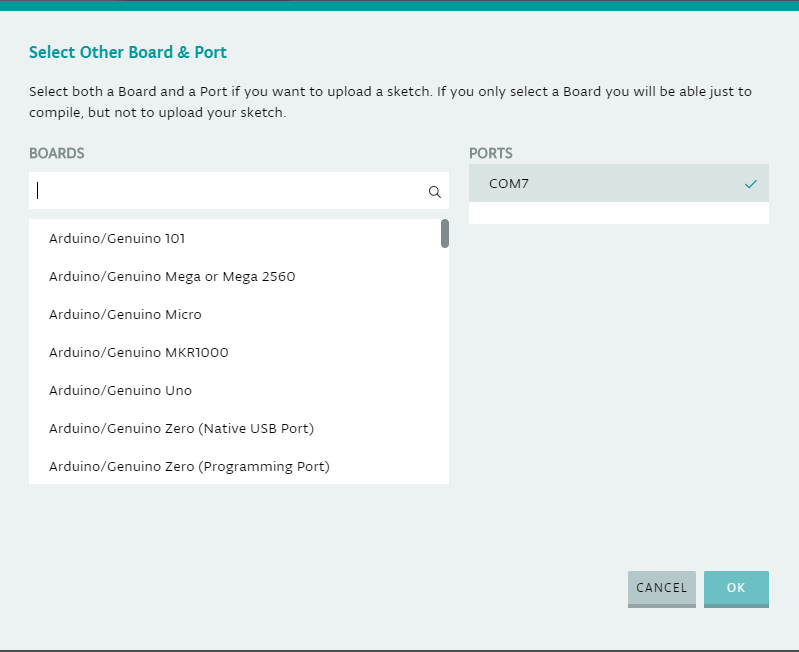
After you selected board and port you can upload your script (2).
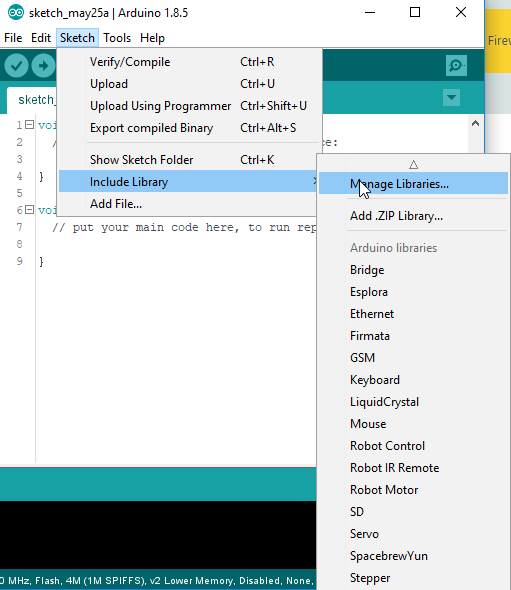
Import your sketch from the Arduino IDE
Now if you want to change coding from Arduino Desktop IDE to the Arduino Web Editor, there is a very useful import function. You only have to select Sketchbook from the first column and then Import on the second column.
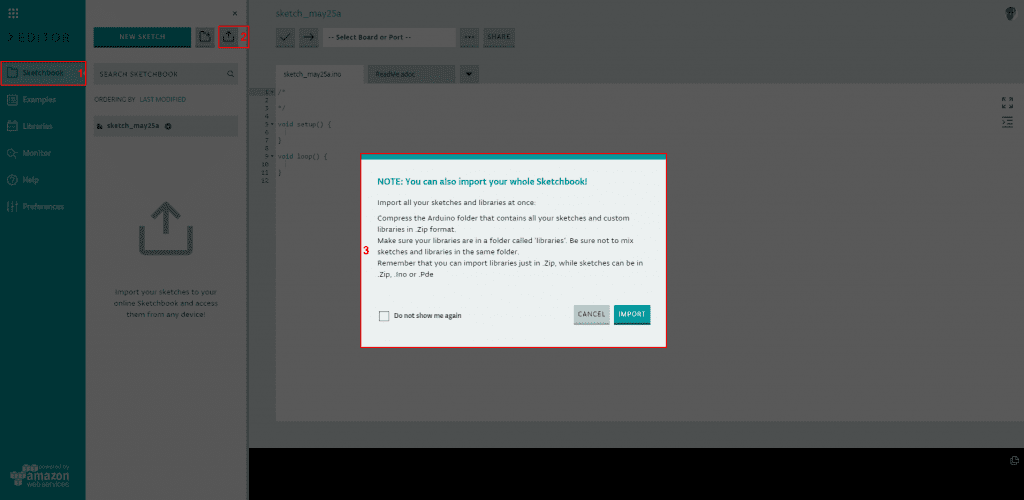
You can import 3 different types
- Single sketches in .ino, .pde and .zip format.
- Libraries in .zip format.
- Zipped folders containing sketches and libraries. Make sure your libraries are in a folder called ‘libraries’. Be sure not to mix sketches and libraries in the same folder.
Conclusion
As said in the first section of this article I like to use different bards. Most of the time I use NodeMCU boards and these boards are not compatible with the Arduino Web Editor. Therefore I am using the local Arduino IDE for all of my projects. Do you prefer the Arduino Web Editor over the Arduino Desktop IDE? If so, why and do you like to share your over the Web Editor? Feel free to answer in the comments below.
I also wrote a tutorial for the Arduino Desktop IDE, which you find here.
Leave A Comment